Houseplant Repotting: Everything You Need to Know
Repotting is the process of transferring a plant from one container to another, typically larger one, or refreshing the soil within the same container. This practice is essential for maintaining healthy houseplants, as it provides them with the resources they need to thrive.
Over time, soil can lose its nutrients, roots can outgrow their containers, and drainage may become less effective. Repotting addresses these issues, ensuring that your plants receive fresh nutrients, adequate room for root growth, and improved aeration and drainage. These factors contribute to a plant’s overall health, promoting lush foliage, vibrant blooms, and resistance to pests and diseases.
In this guide, you will learn why repotting is necessary, how to identify when it’s time to repot, and the steps to do it correctly. You’ll also discover tips on selecting the right pot and soil, as well as post-repotting care to ensure a smooth transition for your plant. By the end of this guide, you’ll have the knowledge and confidence to repot your houseplants with ease.
Table of Contents
Why is Repotting Necessary?
Repotting plays a vital role in maintaining the health and vitality of houseplants. Here’s why it’s a crucial practice:
Replenishes Depleted Nutrients
Over time, soil loses its essential nutrients due to plant absorption and regular watering. Without these nutrients, plants may struggle to grow or produce healthy foliage and flowers. Repotting replenishes the soil, giving your plants the nourishment they need.
Encourages Root Expansion
When a plant becomes root-bound—where roots circle the inside of the pot due to lack of space—it can lead to stunted growth. Repotting provides more room for roots to spread out, allowing the plant to access water and nutrients more efficiently.
Improves Drainage and Aeration
Old soil can become compacted, reducing its ability to drain properly and retain air pockets that roots need for oxygen. Fresh soil improves both drainage and aeration, preventing waterlogging and root rot.
Addresses Issues
Repotting is an excellent opportunity to resolve problems such as:
- Soil compaction that inhibits root growth.
- Pest infestations or fungal issues in the old soil.
- Salt buildup from fertilizers that can harm plant roots.
Signs It’s Time to Repot
It’s not always obvious when a plant needs repotting, but these signs can help you determine if it’s time:
- Roots Growing Through Drainage Holes or Circling the Pot: When roots become visible at the bottom or tightly packed inside the pot, the plant needs more space.
- Soil Dries Out Too Quickly: This indicates that the soil structure has broken down, making it less effective at retaining water.
- Visible Plant Stress: Yellowing leaves, drooping, or stunted growth may signal that the plant is struggling due to insufficient nutrients or space.
- Cracked or Wobbly Pots: Excessive root pressure can cause pots to crack or become unstable, indicating it’s time for a new container.
When to Repot Houseplants
The timing of repotting can greatly impact a plant’s ability to recover and thrive:
Best Time:
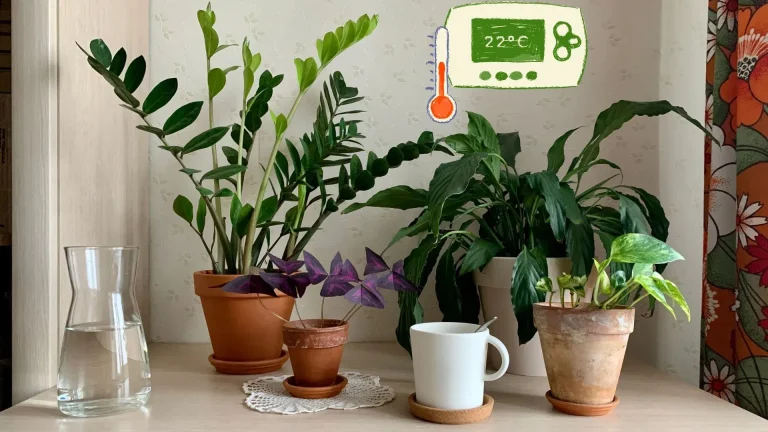
Repot houseplants in early spring or at the start of the growing season. During this time, plants are actively growing, making it easier for them to adapt to new soil and pots.
Avoid Timing During:
- Dormant Periods: Plants rest during late fall and winter, making them less equipped to handle the stress of repotting.
- Flowering Stage: Repotting can disrupt blooming and cause unnecessary stress. However, if the plant’s health is at risk, it may be necessary.
Choosing a Container
The right container plays a key role in the success of repotting:
Size Considerations:
Choose a pot that is 1–2 inches wider in diameter than the current pot. A pot that’s too large can hold excessive moisture, leading to root rot, while a pot that’s too small won’t allow for proper growth.
Material Options:
- Ceramic: Visually appealing and heavy, providing stability, but less porous, which may retain water longer.
- Plastic: Lightweight and affordable, but may not allow for as much airflow to the roots.
- Terracotta: Porous material that promotes good drainage and aeration but may require more frequent watering as it dries out quickly.
Drainage Importance:
Always select a pot with drainage holes. Proper drainage prevents water from pooling at the bottom, which can cause root rot. If using a decorative pot without drainage, use an inner liner pot with holes for better water management.
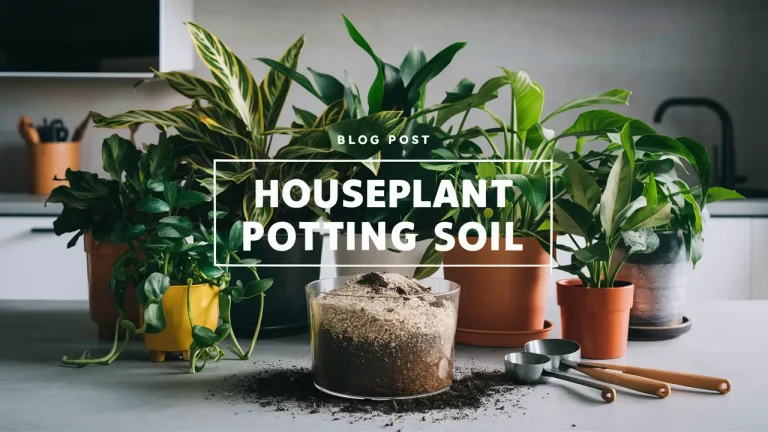
Choosing the Right Soil
The soil you use for your houseplants is crucial for their overall health and growth. It serves as a foundation, supplying the roots with essential nutrients, water, and oxygen. Selecting the correct type of soil for your plant species ensures it thrives in its ideal environment.
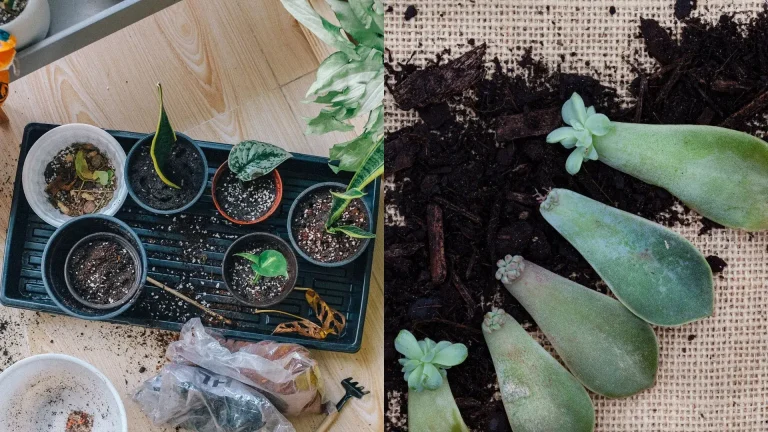
Examples of Soil Mixes
- Succulents and Cacti: Require a well-draining mix that prevents waterlogging. Incorporate sand, perlite, or pumice to improve aeration and drainage.
- Tropical Plants: Thrive in moisture-retaining soil that mimics their native environment. Use coco coir, peat moss, or a mix with organic matter to maintain consistent humidity.
Customizing Soil
You can tailor soil mixes to suit your plant’s specific needs by adding amendments:
- Charcoal: Helps absorb toxins and improves drainage.
- Pumice or Perlite: Increases aeration and prevents compaction.
- Compost or Worm Castings: Enhances nutrient availability for sustained plant growth.
Steps to Repotting Houseplants
Step 1: Water the Plant
Water your plant thoroughly a day before repotting. This softens the soil and roots, making it easier to extract the plant without causing stress or damage.
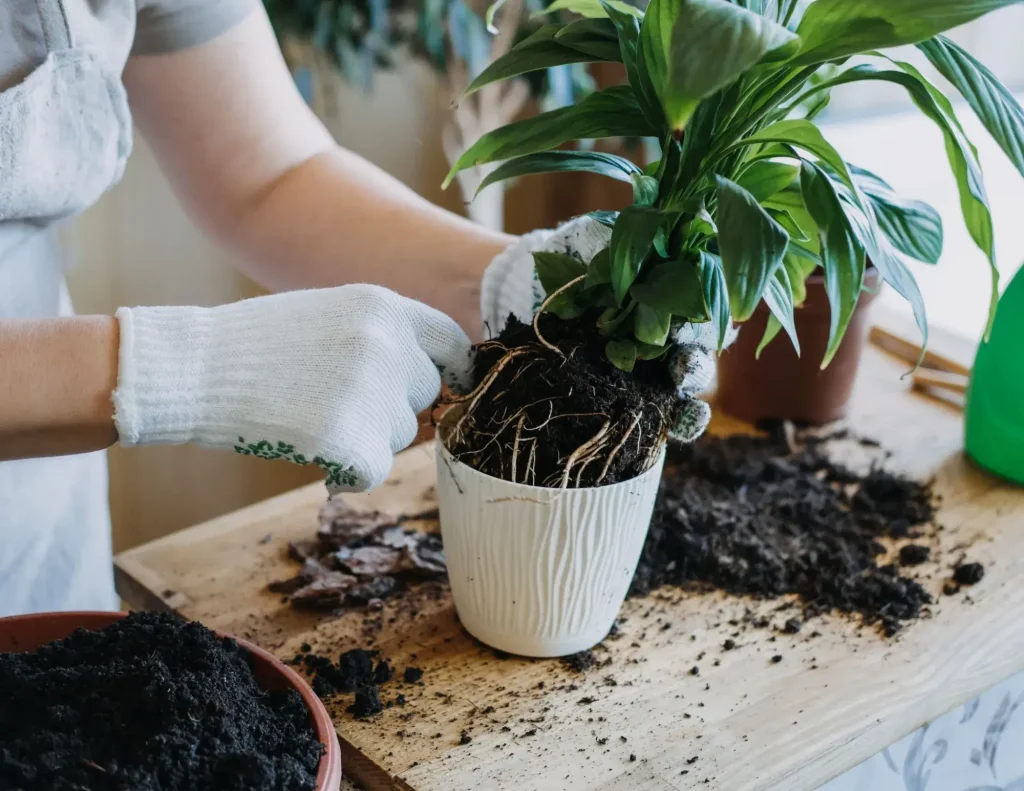
Step 2: Remove the Plant
Gently remove the plant from its current pot. If the plant resists, tap the sides of the pot or carefully use a blunt tool to loosen the edges.
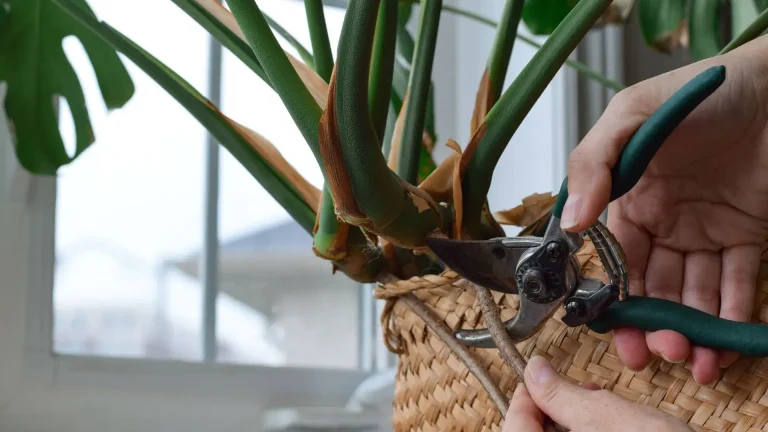
Step 3: Inspect and Trim the Roots
Examine the roots for signs of damage, rot, or overcrowding. Use sterilized scissors to trim circling or dead roots. This encourages healthy new growth and prevents future issues.
Step 4: Add a Base Layer of Soil
Place a layer of fresh soil in the bottom of the new pot. This provides cushioning and elevates the plant to the correct height.
Step 5: Position the Plant
Center the plant in the new pot, ensuring it sits at the same depth as in the previous container. Fill in the gaps around the roots with fresh soil, pressing gently to eliminate air pockets. Leave an inch of space at the top to make watering easier.
Step 6: Lightly Water
After repotting, water the plant lightly to help settle the soil. Avoid overwatering as the plant adjusts to its new environment.
Never forget a repotting detail again—organize your plant care effortlessly with our Printable Repotting Planner!
Post-Repotting Plant Care
Caring for your plant after repotting is crucial to its recovery and adaptation:
Lighting
Place the plant in bright, indirect light to reduce stress. Avoid exposing it to direct sunlight, which can scorch the leaves during recovery.
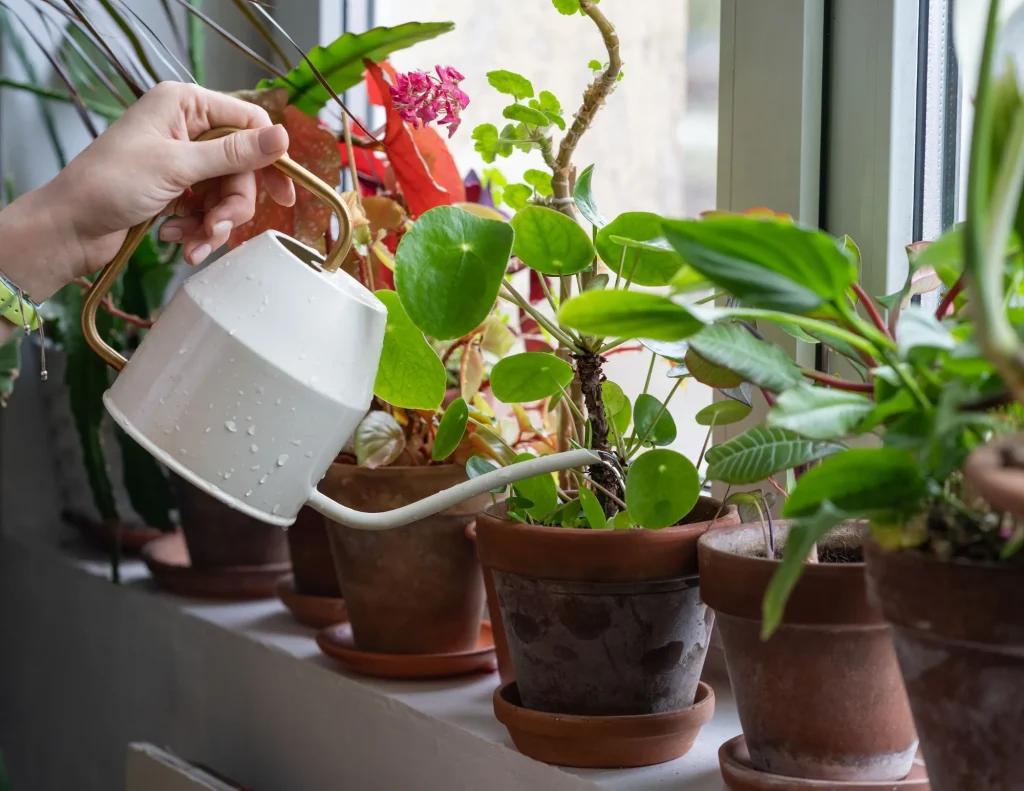
Watering
Refrain from overwatering during the first week. Allow the soil to dry slightly between waterings to prevent root damage.
Fertilization
Delay fertilizing for 2–4 weeks. Fertilizer can stress the plant as it recovers from repotting.
Monitoring
Keep an eye on the plant for signs of stress, such as drooping or wilting, and improvement, like new leaf growth. Adjust care as needed based on its response.
Maintaining Plant Size Without Repotting
For plants you want to keep compact, repotting isn’t always necessary. Here are two alternatives:
Root Pruning
Trim the roots to control the plant’s size. Remove 10–20% of the root mass, focusing on circling or overly long roots. This technique is commonly used for bonsai and other compact plants.
Topsoil Refreshing
Instead of repotting, remove the top 2–3 inches of soil and replace it with fresh, nutrient-rich soil. This refreshes the plant’s nutrient supply without disturbing the roots.
These methods are ideal for plants like bonsai, snake plants, and other varieties that don’t require frequent repotting.
Final Thoughts
Repotting is a vital aspect of houseplant care, ensuring your plants have the nutrients, space, and environment they need to thrive. By understanding the signs that a plant needs repotting and following a step-by-step process, you can ensure a smooth transition and healthier growth.
Remember to observe your plants regularly and repot them when needed. With proper care and attention, your houseplants will reward you with vibrant foliage and lasting beauty. Take your time, plan the process, and enjoy the satisfaction of watching your plants flourish in their new homes.