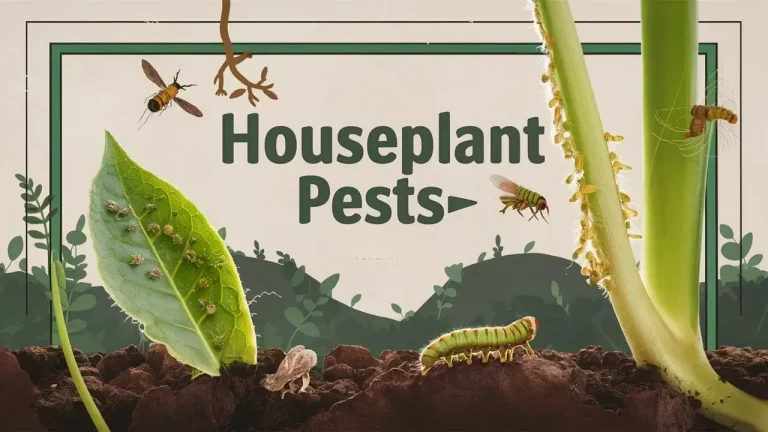
How to Revive a Dying Houseplant: A Step-by-Step Guide to Recovery
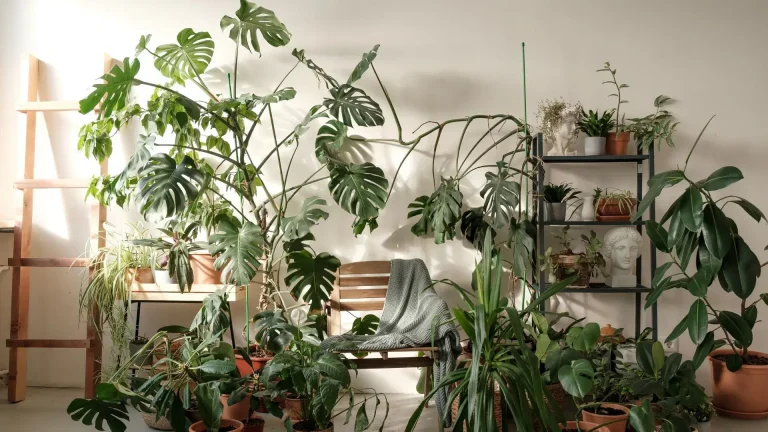
Houseplants can bring life and beauty to any indoor space, but keeping them healthy is not always straightforward. Many plant enthusiasts face the frustration of seeing their beloved greenery decline due to common issues like improper care or environmental factors.
Understanding a plant’s unique needs and recognizing early signs of distress are key to preventing further damage. Whether it’s yellowing leaves, wilting stems, or browning tips, these signals often indicate that something is wrong, but revival is possible. With patience, observation, and the right care, you can bring even the most struggling plants back to life.
Table of Contents
1. Assessing the Situation
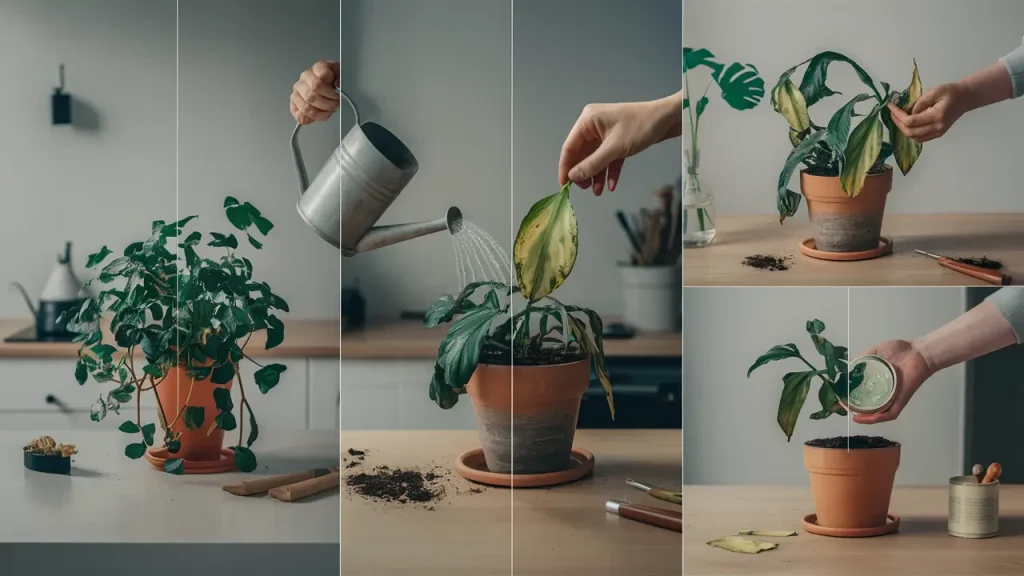
Before taking any action, it’s essential to evaluate your plant’s condition. Identifying the specific problem is the first step toward finding an effective solution.
Signs of Distress
Look for these common signs of an unhealthy plant:
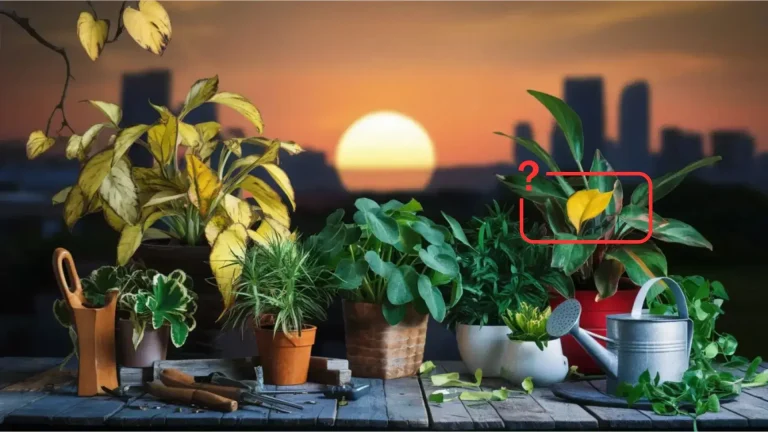
- Yellowing Leaves: Often caused by overwatering or nutrient deficiencies.
- Brown Tips or Edges: A symptom of low humidity, underwatering, or salt buildup.
- Wilting or Drooping Posture: Can result from both overwatering and underwatering.
- Leaf Drop: Frequently linked to environmental stress, such as sudden temperature changes or lack of light.
It’s also important to assess the overall condition of your plant. If the majority of the leaves are still green and stems feel firm, there’s a good chance your plant can recover.
Common Causes
Once you’ve identified the signs of distress, consider these typical culprits:
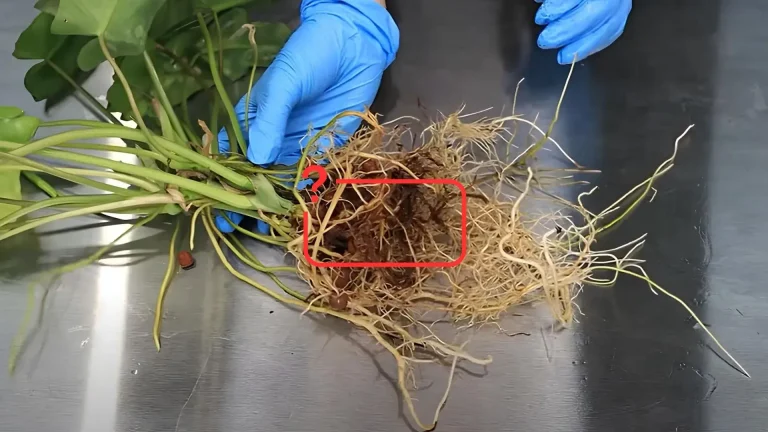
- Overwatering: A leading cause of houseplant issues, leading to soggy soil and root rot.
- Underwatering: Results in dry soil and crispy, dehydrated leaves.
- Pests: Insects like spider mites or aphids can weaken plants over time.
- Inadequate Light: Insufficient or excessive light can disrupt growth and cause stress.
- Nutrient Deficiencies: Lack of essential nutrients can stunt growth and discolor leaves.
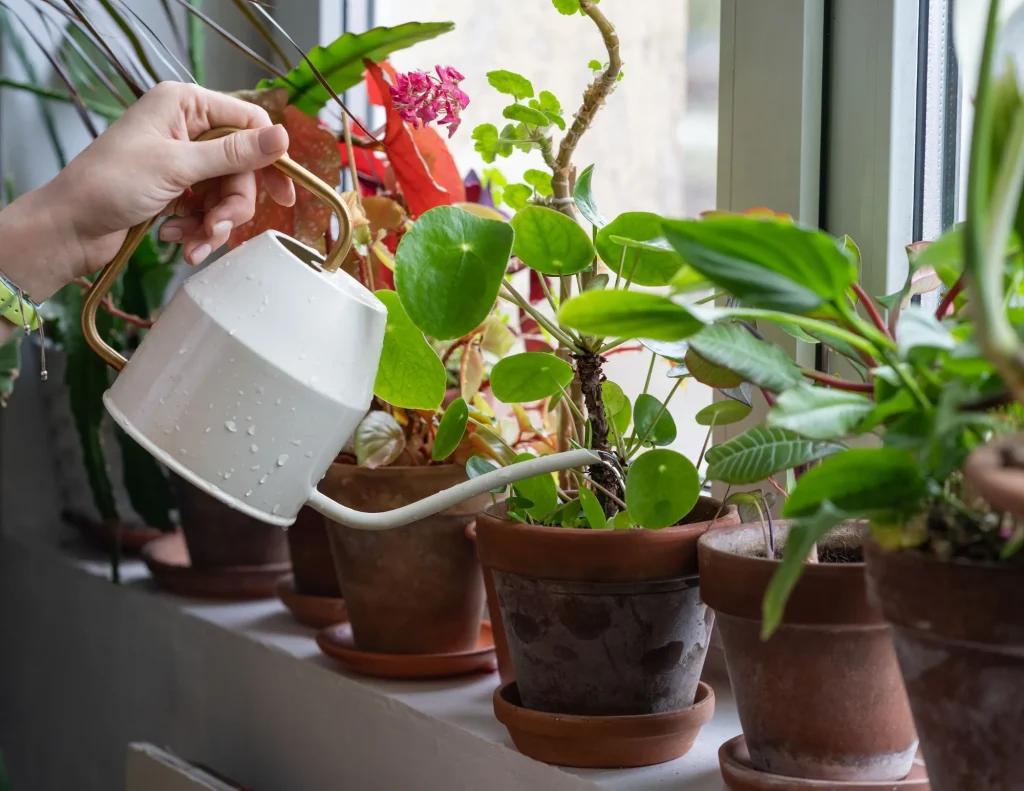
2. Adjust Watering Habits
Watering mistakes are one of the most common reasons for plant decline. Knowing the symptoms of overwatering and underwatering can help you adjust your care routine accordingly.
Overwatering
- Symptoms:
- Yellowing leaves, often soft or mushy.
- Soggy, compacted soil.
- Mushy, darkened roots with a foul odor.
- Solutions:
- Stop watering immediately and allow the soil to dry out completely before the next watering.
- Ensure your pot has proper drainage holes to prevent water from pooling at the bottom.
- If root rot is severe, remove the plant from its pot, trim the affected roots, and repot in fresh, well-draining soil.
Underwatering
- Symptoms:
- Leaves that are dry, crispy, and brittle.
- Soil that feels hard and pulls away from the edges of the pot.
- Drooping stems and a weak overall appearance.
- Solutions:
- Gradually rehydrate the soil by soaking the pot in water until the topsoil becomes evenly moist. Avoid sudden overwatering, which can shock the plant.
- Establish a consistent watering routine based on the plant’s needs, typically when the top inch of soil feels dry to the touch.
Use our printable planner to monitor your plant health.
3. Improve Lighting Conditions
Light is another essential factor in a plant’s health, and insufficient or excessive light can cause significant stress. Identifying your plant’s light requirements and adjusting its placement can make a big difference.
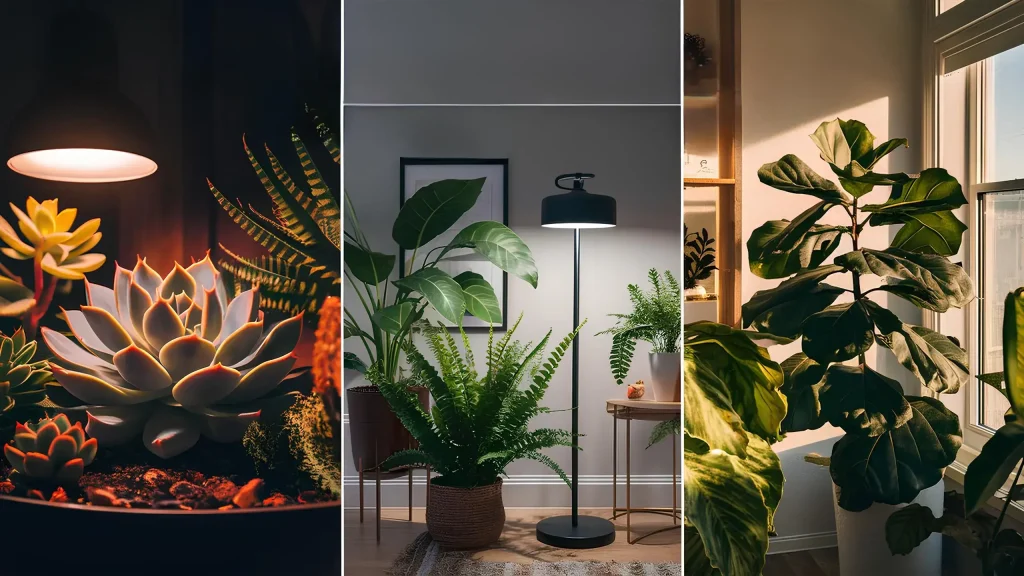
Identifying Light Needs
Different plants have varying light preferences:
- Low-Light Plants: Such as pothos and peace lilies, thrive in indirect light or shaded areas.
- Bright, Indirect Light Plants: Like fiddle leaf figs and philodendrons, need plenty of light but not direct sunlight.
- Full-Sun Plants: Cacti and succulents prefer several hours of direct sunlight daily.
Adjusting Placement
- Move the plant closer to a window if it shows signs of inadequate light, such as leggy growth or pale leaves.
- For plants that require bright, indirect light, place them near east- or north-facing windows. Sheer curtains can be used to filter intense sunlight from south- or west-facing windows.
- If natural light is insufficient, consider supplementing with grow lights. These provide the wavelengths needed for photosynthesis and can be a lifesaver during darker winter months.
4. Check for Pests
Pests can silently damage your houseplants by feeding on their leaves, stems, or roots. Regularly inspecting your plants is crucial for catching infestations early.
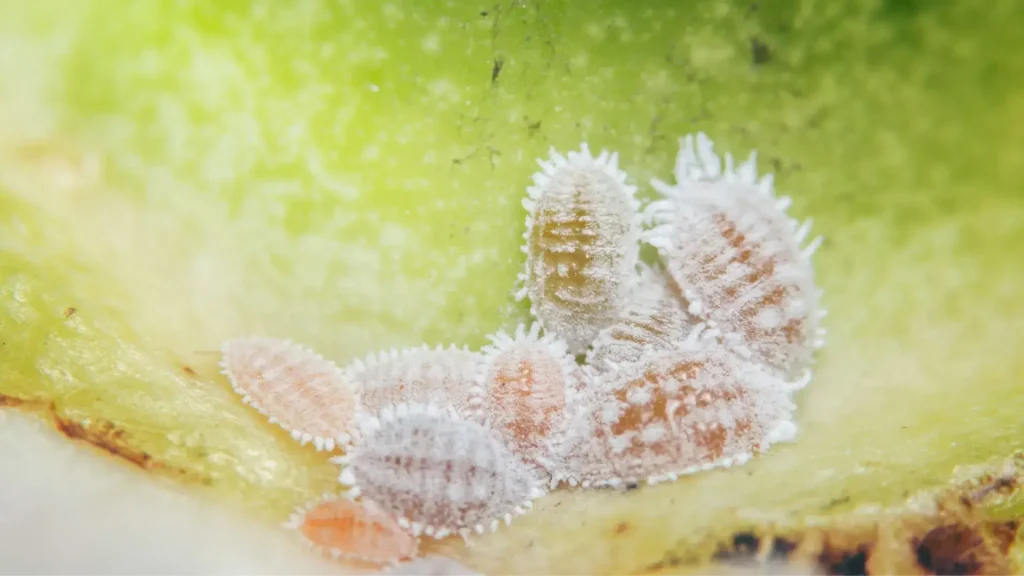
Common Pests
- Aphids: Small, soft-bodied insects that cluster on new growth and excrete sticky residue.
- Spider Mites: Tiny pests that create fine webbing on the undersides of leaves.
- Mealybugs: Cotton-like white clusters found on stems and leaf joints.
Inspection Tips
- Carefully check the undersides of leaves, stems, and soil surface for signs of pests.
- Look for visible insects, webbing, sticky residue, or small holes in leaves.
Treatment Options
- Isolation: Immediately separate the affected plant to prevent pests from spreading.
- Insecticidal Soap: Spray the plant with a mild soap solution, ensuring complete coverage of leaves and stems.
- Neem Oil: Apply diluted neem oil to combat pests effectively and naturally.
- Manual Removal: For light infestations, use a cotton swab dipped in rubbing alcohol to remove pests.
5. Revitalize the Soil
Over time, soil can become compacted, depleted of nutrients, or waterlogged, making it difficult for roots to function properly.
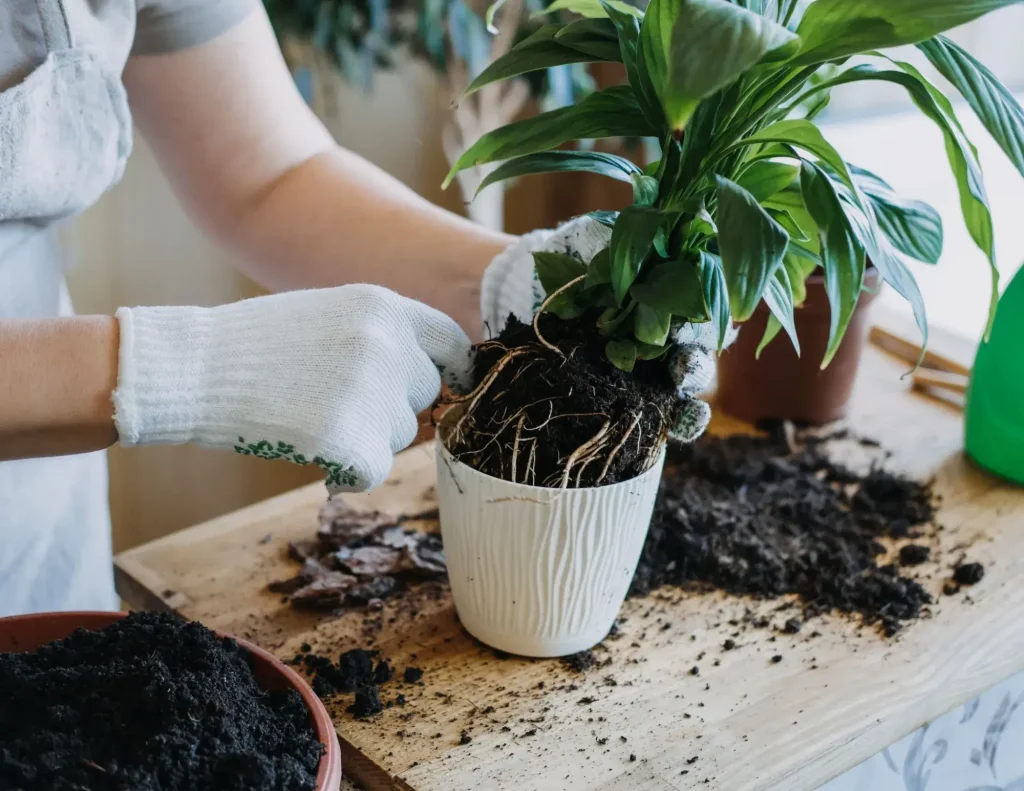
Importance of Soil Quality
Healthy soil is essential for supporting root development, nutrient absorption, and proper drainage.
Repotting Steps
- Gently remove the plant from its current pot and inspect the roots.
- Trim any mushy, darkened roots affected by rot.
- For healthy roots, shake off excess old soil to ensure fresh contact with nutrients.
- Choose a slightly larger pot with drainage holes to prevent water from stagnating.
- Use a well-draining potting mix suitable for the plant type (e.g., cactus mix for succulents or peat-based soil for tropical plants).
- After repotting, water lightly and give the plant time to adjust to its new environment.
6. Prune and Trim
Pruning is an important step to help a struggling plant focus its energy on recovery.
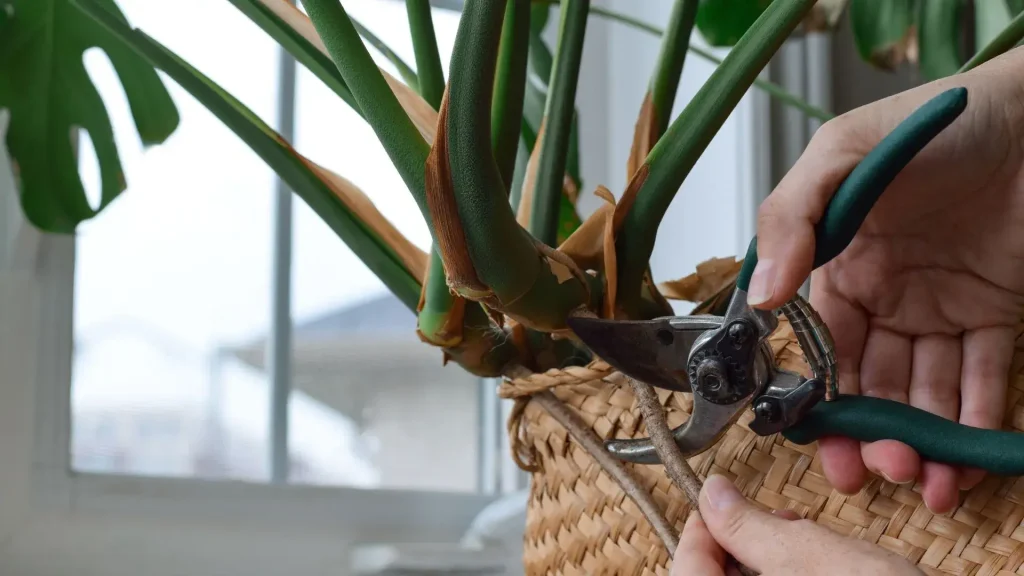
Benefits of Pruning
- Removes dead or diseased parts that can drain energy from the plant.
- Encourages new growth by redirecting resources to healthy areas.
How to Prune
- Use clean, sharp scissors or pruning shears to avoid spreading disease.
- Cut away yellowed, browned, or damaged leaves and stems.
- Avoid excessive pruning; leave enough foliage to sustain photosynthesis and recovery.
7. Fertilize Wisely
Fertilization can give a recovering plant the extra nutrients it needs to rebuild its strength, but it must be done cautiously to avoid causing more harm.
Nutrient Needs
- Plants showing slow growth, pale leaves, or stunted development may be suffering from nutrient deficiencies.
- Look for signs such as yellowing between leaf veins (often indicating a lack of iron or magnesium) or weak stems (a sign of potassium deficiency).
Fertilization Tips
- Wait until the plant shows signs of improvement before fertilizing, as stressed plants may not absorb nutrients effectively.
- Use a diluted, balanced liquid fertilizer (e.g., 10-10-10) to provide essential nutrients in a controlled manner.
- Fertilize during the active growing season (spring and summer), avoiding the dormant period in winter.
- Apply fertilizer every 2-4 weeks, depending on the plant’s needs, and always follow the manufacturer’s recommendations to prevent over-fertilizing.
8. Maintain Humidity Levels
Humidity is vital for many houseplants, especially those that originate from tropical environments. Creating the right level of moisture in the air can significantly improve a plant’s recovery.
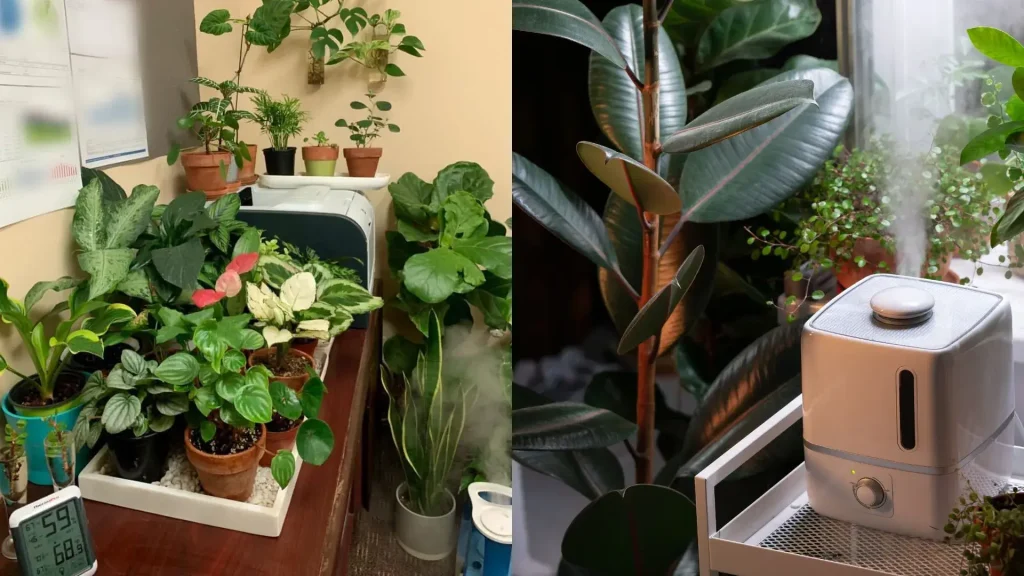
Humidity Requirements
- Tropical plants like ferns, Calatheas, and philodendrons thrive in high humidity (50-60%).
- Desert plants such as cacti and succulents prefer lower humidity levels.
Ways to Increase Humidity
- Pebble Trays: Place a shallow tray filled with pebbles and water under the plant’s pot. As the water evaporates, it creates a humid microclimate around the plant.
- Grouping Plants Together: This increases collective humidity through transpiration.
- Humidifiers: Use a humidifier to maintain consistent moisture levels, especially in dry or air-conditioned environments.
- Misting: Lightly mist plants that benefit from higher humidity, but avoid over-misting, which can encourage fungal growth.
9. Be Patient and Observe
Recovering a struggling plant is not an overnight process. It requires time, consistency, and careful observation.
Track Progress
- Monitor the plant for signs of new growth, such as fresh leaves or a more upright posture.
- Adjust care routines based on how the plant responds to your efforts.
Stay Consistent
- Stick to a routine that includes appropriate watering, light, and humidity levels.
- Avoid making too many changes at once, as this can stress the plant further.
Final Thoughts
Reviving a dying houseplant may seem daunting, but with the right approach, it’s entirely possible. By understanding your plant’s needs and taking systematic steps to address the issues, you can nurture it back to health.
From adjusting watering habits and improving lighting to managing pests and maintaining proper humidity, every effort counts toward restoring vitality. Remember, patience and attention to detail are your best tools.